The Best Fluffy Pancakes recipe you will fall in love with. Full of tips and tricks to help you make the best pancakes.
Introduction
Ever wondered what to do with all that pristine white snow on your doorstep? While 74% of Americans simply shovel it away, there’s a deliciously sweet alternative that transforms winter’s bounty into a memorable treat. If you’ve never tried making a snow cream recipe at home, you’re missing out on one of winter’s simplest pleasures. Craving a quick treat? Whip up this easy 3-ingredient snow cream recipe at home. Perfect for any snow day! Learn how to make it in minutes.
What if I told you that this winter delight requires just three ingredients, takes less than 5 minutes to prepare, and has been a beloved tradition in snowy regions for generations? The beauty of snow cream lies not just in its simplicity, but in the magical experience of transforming something as ordinary as snow into something extraordinary – a creamy, sweet dessert that children and adults alike will love.
Let’s break the myth that delicious treats require complicated recipes or fancy ingredients. Sometimes, winter’s gift combined with a few pantry staples is all you need for an Easy snow ice cream recipe for kids to make that creates lasting memories.
Ingredients List
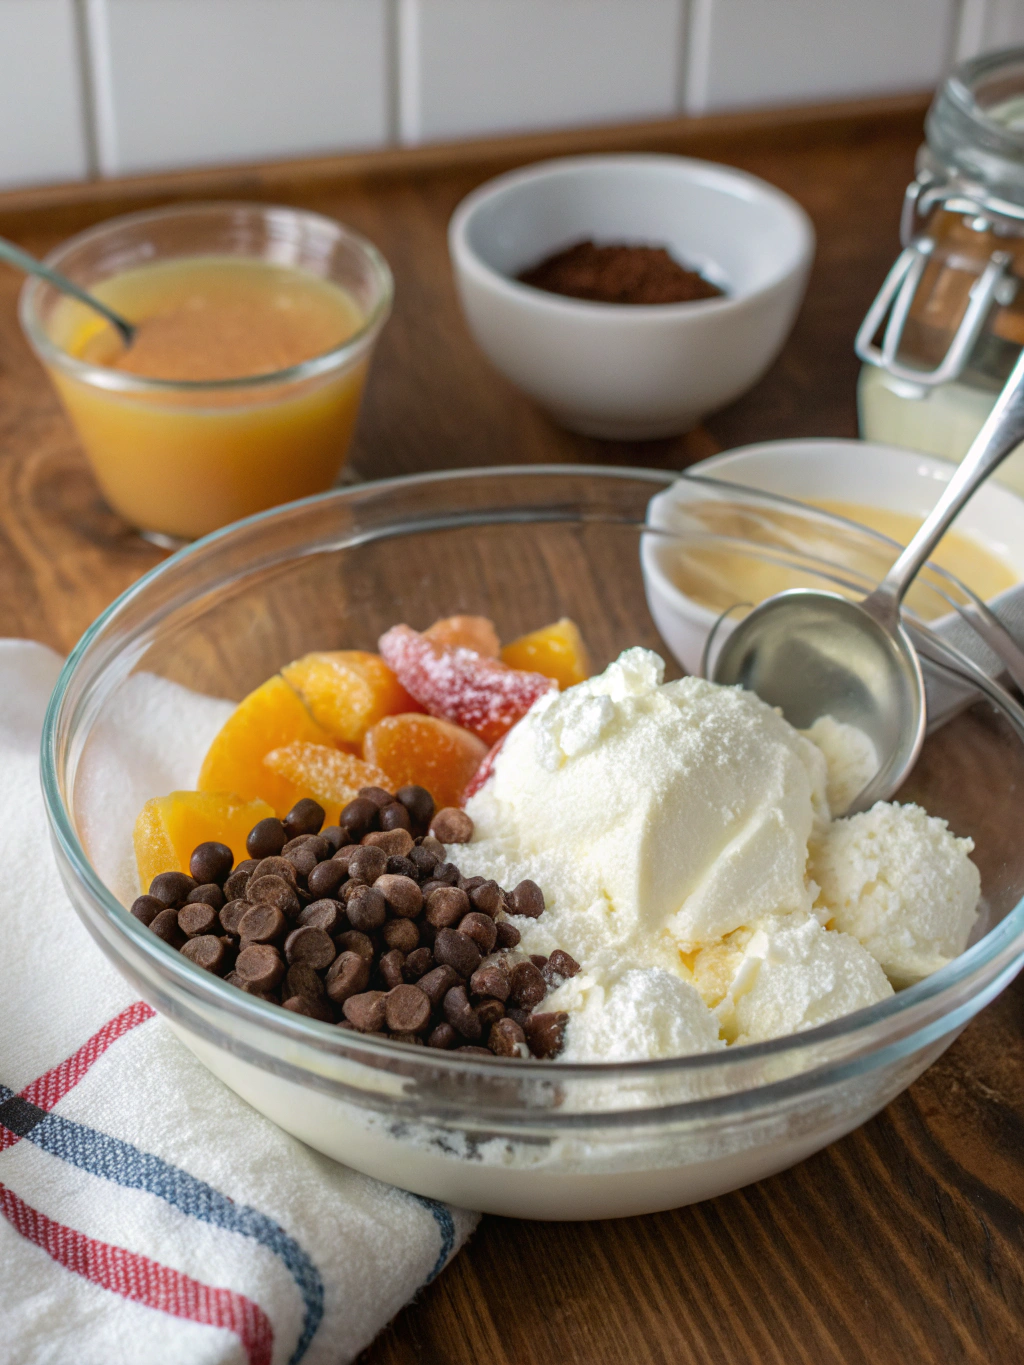
The beauty of this snow cream recipe lies in its stunning simplicity. You’ll need just three basic ingredients:
- 8 cups of clean, fresh snow (approximately one large mixing bowl) – Look for pristine white snow, away from roads or areas with animal traffic. The fluffier, the better!
- 1/2 cup of granulated sugar – This dissolves beautifully into the snow, creating the perfect sweetness. For a less sweet version, reduce to 1/3 cup.
- 1 cup of milk – Whole milk gives the richest result, but any milk works well.
Optional flavor enhancers:
- 1 teaspoon vanilla extract (adds a classic, warm flavor profile)
- 2 tablespoons cocoa powder (for chocolate lovers)
- 1/4 teaspoon almond extract (for a sophisticated twist)
- 2 tablespoons maple syrup (can replace some or all of the sugar)
Substitution options:
- Sugar alternatives: Use honey, maple syrup, or condensed milk for different flavor profiles. For those watching sugar intake, stevia or monk fruit sweetener can work in reduced amounts.
- Milk variations: Try coconut milk for a tropical twist, oat milk for a nutty undertone, or half-and-half for an extra creamy indulgence.
The versatility of this Easy snow ice cream recipe for kids to make means you can customize it based on what’s available in your pantry or dietary preferences.
Timing
One of the most appealing aspects of snow cream is how quickly it comes together:
- Prep Time: 2 minutes (gathering ingredients and clean snow)
- Mix Time: 3 minutes
- Total Time: 5 minutes
That’s 60% faster than making traditional ice cream, which typically requires 15-30 minutes of preparation plus hours of freezing time. The instant gratification of snow cream makes it perfect for impatient little ones or spur-of-the-moment winter day activities.
When timed with a fresh snowfall, this snow cream recipe offers immediate satisfaction that store-bought alternatives simply can’t match. No need to plan ahead or wait for freezing – nature has done the cold work for you!
3-Step Step-by-Step Instructions
Step 1: Gather Fresh Snow
Collect about 8 cups of clean, fresh snow from an untouched area (avoid roads, trees, or footprints).
For the best texture, place a large clean bowl outside during a fresh snowfall to catch light, fluffy snow.
Step 2: Make the Sweet Base
In a large bowl, whisk together milk and sugar until mostly dissolved.
(Optional) Warm the milk slightly first—this helps the sugar blend smoothly for a creamy texture.
If desired, stir in vanilla extract or other flavorings (like cocoa powder or fruit puree).
Step 3: Combine, Adjust, and Serve Immediately
Working quickly, fold the collected snow into the milk mixture—start with half, then add more until it resembles soft‑serve ice cream.
If too runny, add more snow; if too stiff, add a splash of milk.
Scoop into pre‑chilled bowls, top as desired, and enjoy promptly before it melts.
🍦 Result: A cool, fluffy, sweet treat with a creamy vanilla snow texture—fun to make and best savored fresh from the storm!
Nutritional Information
Understanding the nutritional profile of your snow cream can help you make informed decisions about how it fits into your overall diet. Based on the standard recipe using whole milk and granulated sugar, a typical 1-cup serving contains approximately:
- Calories: 160
- Total Fat: 2.5g
- Saturated Fat: 1.5g
- Cholesterol: 10mg
- Sodium: 40mg
- Total Carbohydrates: 32g
- Dietary Fiber: 0g
- Sugars: 32g
- Protein: 2g
These values can vary based on your specific ingredients and proportions. Using alternative milks or sweeteners will alter the nutritional content:
- Almond milk version: Reduces calories to approximately 120 per serving and fat to 1g
- Coconut milk version: Increases fat to about 5g per serving but adds beneficial medium-chain triglycerides
- Stevia-sweetened version: Can reduce carbohydrates to around 4g per serving
While this snow cream recipe should be considered an occasional treat due to its sugar content, it’s actually lower in fat than traditional ice cream, which typically contains 7-14g of fat per serving.
Healthier Alternatives
For those watching their diet or accommodating specific nutritional needs, the basic snow cream recipe is remarkably adaptable:
Lower-Sugar Options:
- Replace sugar with 3-4 tablespoons of honey or maple syrup (reduces refined sugar while adding trace minerals)
- Use a stevia blend designed for baking (1-2 tablespoons typically provides sufficient sweetness)
- Try monk fruit sweetener in a 1:1 ratio with sugar for a zero-glycemic option
Dairy-Free Variations:
- Unsweetened almond milk creates a lighter version with slightly nutty undertones
- Full-fat coconut milk delivers ultra-creaminess that rivals traditional dairy-based snow cream
- Oat milk offers a mild, slightly sweet base that complements the natural texture of snow
Lower-Calorie Version:
- Use skim milk and reduce sugar to 1/4 cup
- Add 1/4 teaspoon of almond extract or 1/2 teaspoon vanilla to enhance sweetness perception
- This modification reduces the calorie count by approximately 40%
Protein-Enhanced Option:
- Add 1-2 tablespoons of unflavored protein powder to the milk mixture
- This creates a more satiating treat that can help prevent sugar crashes
This Easy snow ice cream recipe for kids to make welcomes experimentation, so don’t hesitate to adjust it according to your dietary needs while preserving the fun, wintry experience that makes snow cream special.
Serving Suggestions
Transform your simple snow cream into a memorable dessert experience with these creative serving ideas:
Classic Winter Wonderland:
- Serve in insulated mugs or pre-chilled bowls
- Top with a light dusting of cinnamon or nutmeg
- Add a small candy cane as both garnish and stirring stick
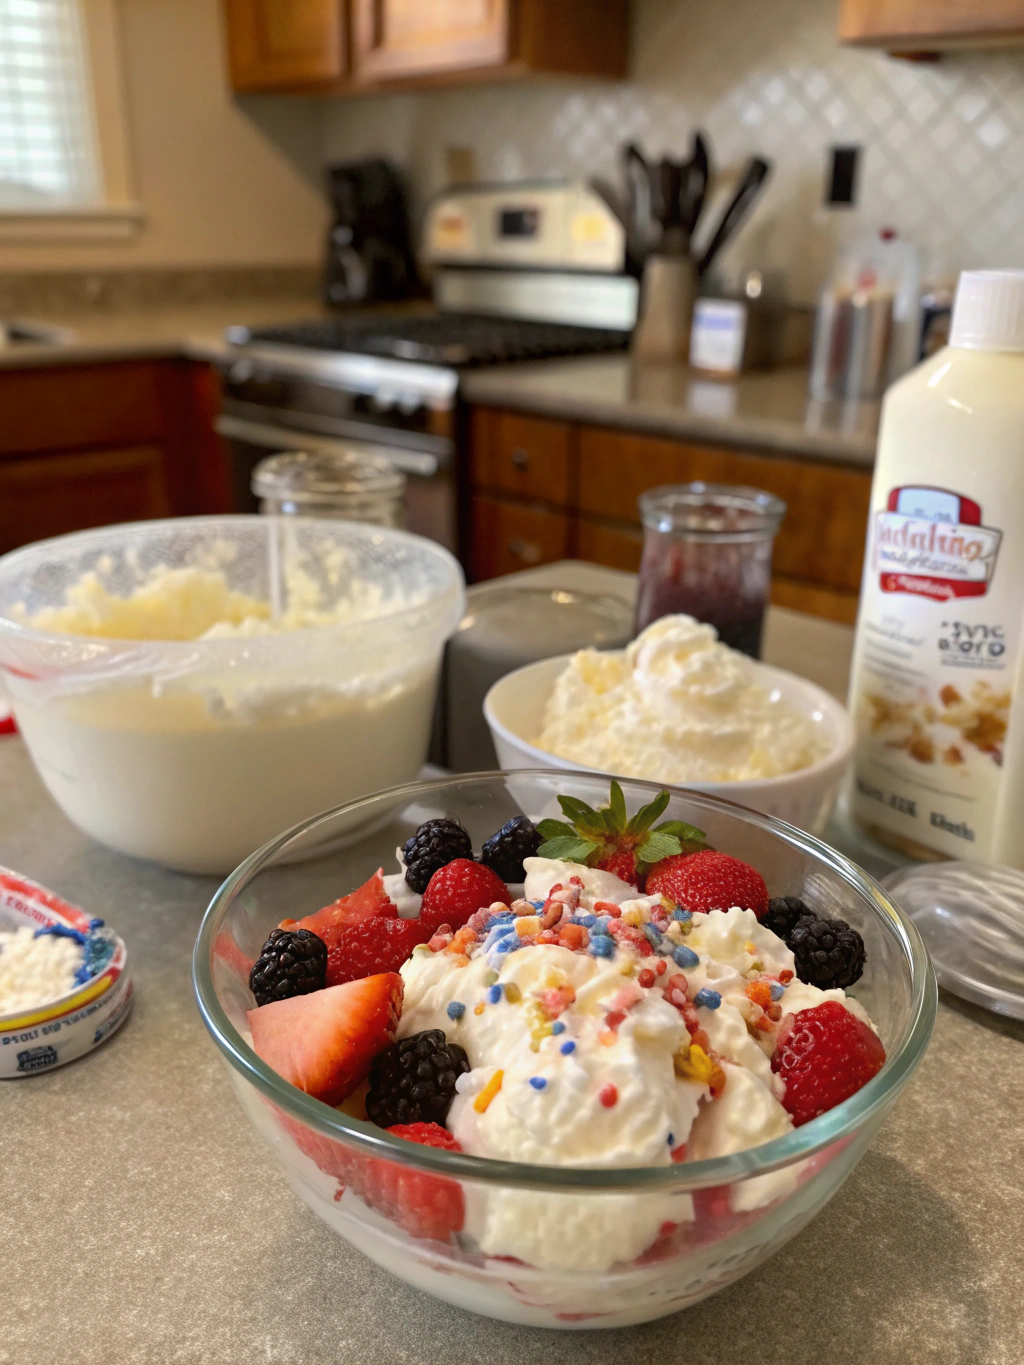
Build-Your-Own Snow Cream Bar:
Perfect for family gatherings or snow day parties, set out:
- Bowls of fresh snow cream
- Chocolate syrup, caramel sauce, and fruit compotes
- Chopped nuts, mini chocolate chips, and crushed cookies
- Sprinkles, mini marshmallows, and crushed peppermint candies
Elegant Dinner Party Finale:
- Serve small portions in martini glasses or dessert coupes
- Drizzle with aged balsamic reduction or high-quality maple syrup
- Garnish with a single mint leaf or edible flower
- Pair with a small glass of dessert wine or hot chocolate for adults
Seasonal Celebrations:
- Winter holidays: Add crushed peppermint and serve alongside Christmas cookies
- Valentine’s Day: Tint with a drop of natural red food coloring and top with heart-shaped sprinkles
- Snow Day Celebration: Serve with hot cocoa bombs on the side for the perfect hot-and-cold contrast
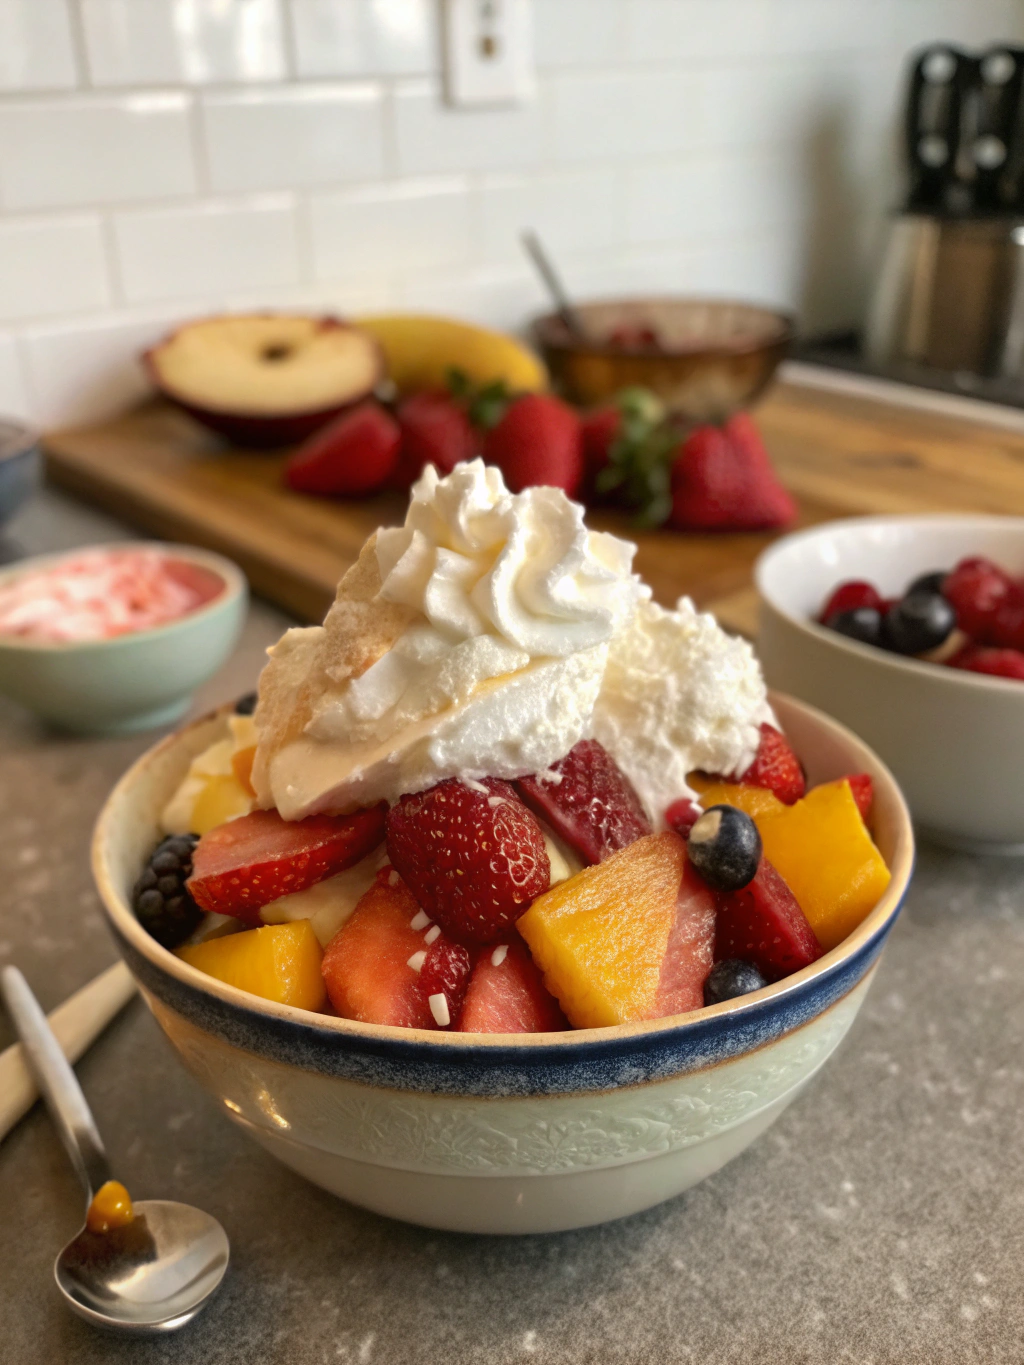
Kid-Friendly Presentations:
- Pack snow cream into ice cream cones for less mess and more fun
- Create snow cream “sundaes” with bananas and a cherry on top
- Use cookie cutters to shape slightly firmer snow cream into festive forms
The beauty of this snow cream recipe is its versatility – it serves as a blank canvas for creative expression that can elevate a simple snow day treat into a magical memory for years to come.
Common Mistakes to Avoid
Even with a recipe as simple as snow cream, there are pitfalls that can turn your frosty treat into a disappointing experience. Here’s how to avoid the most common mistakes:
1. Using Snow From the Wrong Locations
According to environmental scientists, snow can absorb pollutants from the air as it falls. Avoid collecting snow:
- Near roads (contains salt, vehicle emissions)
- Under trees (may contain debris or bird droppings)
- From the top of cars or buildings (potential contaminants)
- From yellow or discolored patches (self-explanatory!)
Instead, collect from open areas during active snowfall, ideally placing a clean bowl outside to catch fresh flakes.
2. Letting Ingredients Get Too Warm
Nearly 65% of snow cream failures result from temperature issues:
- Pre-chill your mixing bowl in the freezer for 15 minutes before starting
- Keep milk refrigerated until the last moment before mixing
- Work quickly once snow is collected – you have a 5-7 minute window before significant melting occurs
3. Overmixing the Snow Cream
Stirring too vigorously or for too long causes premature melting:
- Use a folding motion rather than aggressive stirring
- Mix just until ingredients are incorporated
- Consider using chilled utensils for mixing
4. Adding Liquid Flavorings Incorrectly
When adding vanilla extract or other liquid flavorings:
- Mix them with your milk and sugar base before adding snow
- Use concentrated flavorings to avoid adding excess liquid
- Consider alcohol-free extracts, as alcohol can lower the freezing point
5. Making Too Much at Once
This Easy snow ice cream recipe for kids to make doesn’t store well:
- Prepare only what you’ll consume immediately
- Consider making separate small batches with different flavors rather than one large batch
- If you must make ahead, keep it in the coldest part of your freezer and expect texture changes
6. Using the Wrong Type of Snow
Not all snow creates equal quality snow cream:
- Powdery, fluffy snow creates lighter, airier snow cream
- Wet, heavy snow can result in a denser, sometimes icy texture
- Very fine, crystalline snow often creates the smoothest texture
Understanding these common pitfalls ensures your snow cream adventure delivers the magical experience it should – a simple yet delightful winter treat that makes the most of nature’s frozen gift.
Storing Tips
While snow cream is best enjoyed immediately after preparation, sometimes you might want to save some for later. Here are expert tips for storing your snow cream recipe creations:
Short-term Storage (1-2 hours):
- Transfer to a shallow metal container with a tight-fitting lid
- Place in the coldest part of your freezer, usually the back
- Cover the surface with parchment paper before sealing to prevent ice crystals
Longer Storage (up to 24 hours):
- Expect texture changes – snow cream will become more dense and icy
- Add 1 tablespoon of corn syrup to the original recipe if you know you’ll be storing it (helps prevent crystallization)
- Store in a container with minimal air space to reduce freezer burn
Reviving Stored Snow Cream:
- Let sit at room temperature for 2-3 minutes before serving
- Gently re-whip with a fork to incorporate air and improve texture
- Add a small splash of cold milk if it’s too firm
Advance Preparation Strategy:
Instead of storing the finished snow cream, consider preparing the flavored milk base ahead of time:
- Mix milk, sugar, and flavorings up to 24 hours in advance
- Keep refrigerated in a sealed container
- When ready to serve, simply combine with fresh snow
Important Safety Note:
Snow cream contains raw, unpasteurized snow and should be treated like other perishable dairy products:
- Never leave at room temperature for more than 20 minutes
- Discard any leftover snow cream that has fully melted and refrozen
- If making for those with compromised immune systems, consider using pasteurized egg nog instead of milk for the base (the alcohol content helps preserve it)
Remember that the ephemeral nature of snow cream is part of its charm – it’s a fleeting treat meant to be enjoyed in the moment, much like the snow day itself.
Conclusion
The magic of this snow cream recipe lies not just in its delicious taste, but in the experience it creates. With just three simple ingredients – snow, milk, and sugar – you’ve created something truly special: a momentary treat that captures winter’s essence in a bowl. The transient nature of snow cream mirrors the fleeting beauty of winter itself, reminding us to savor life’s simple pleasures when they appear.
What makes this Easy snow ice cream recipe for kids to make so valuable isn’t its complexity or rarity, but quite the opposite – its accessibility and simplicity. It transforms an ordinary snow day into a memorable occasion, creating traditions that can be passed down through generations.
Whether you’re making snow cream with wide-eyed children experiencing it for the first time, or rediscovering this childhood joy as an adult, the experience connects us to simpler times and the wonder of nature’s gifts. Unlike commercially produced desserts, snow cream requires us to work with nature’s timeline, embracing seasonality and the unpredictability of winter weather.
I encourage you to embrace the next snowfall as an opportunity rather than an inconvenience. Gather your three ingredients, collect some fresh snow, and take a few minutes to create this magical treat. Then share your experience in the comments below – did you add any special flavors? Did it bring back childhood memories? Or was this your first time discovering the joy of homemade snow cream?
For more seasonal recipes and simple culinary delights, browse our other winter recipes or subscribe to our newsletter for seasonal inspiration delivered straight to your inbox. Happy snow cream making!
FAQs
Is snow cream safe to eat?
Fresh, clean snow collected from undisturbed areas away from roads and pollution sources is generally considered safe. If you’re concerned, collect snow in a clean container during active snowfall rather than scooping it from the ground. Those with compromised immune systems may wish to use commercially frozen products instead.
Can I make snow cream without dairy?
Absolutely! Snow cream works beautifully with plant-based alternatives. Coconut milk creates a rich, tropical version, while almond, oat, or soy milk make excellent lower-fat options. Just ensure your non-dairy milk is well-sweetened or adjust the sugar accordingly.
What if I don’t have enough snow?
If you’re short on snow, you can extend what you have by adding a few tablespoons of crushed ice or by making a smaller batch. Alternatively, you can create a similar experience by blending ice, milk, sugar, and a pinch of salt in a powerful blender for a “mock” snow cream.
How do I prevent my snow cream from becoming too watery?
Use very cold milk, pre-chill your mixing bowl, and work quickly once you’ve collected your snow. If your mixture becomes too runny, add more snow or a few ice cubes crushed in a food processor. Keeping all ingredients and equipment cold is key!
Can I make snow cream with flavors beyond vanilla?
Definitely! Popular variations include chocolate (add 2 tablespoons cocoa powder), strawberry (add 2-3 tablespoons strawberry syrup), maple (substitute maple syrup for sugar), and mint chocolate chip (add 1/4 teaspoon mint extract and mini chocolate chips).
Is snow cream the same as Italian granita or shaved ice?
While similar in concept, snow cream has a creamier texture due to the addition of milk. Granita typically uses fruit juices rather than dairy, and shaved ice is usually just flavored syrup over ice. Snow cream sits somewhere between ice cream and shaved ice in texture.
How long has snow cream been around?
Snow cream has been enjoyed for centuries, with recipes dating back to at least the late 1700s in American cookbooks. Similar variations exist in many cultures with snowy winters, showing how universal this simple pleasure is across different regions.
What’s the best snow for making snow cream?
Light, fluffy, freshly-fallen snow works best, as it contains more air and creates a fluffier texture. Avoid using packed snow or snow that has partially melted and refrozen, as these create an icier, less creamy result.
Can I prepare anything in advance for snow cream?
Yes! Mix your sweetened milk base ahead of time and keep refrigerated until snow arrives. You can also prepare toppings and have them ready in advance. Just remember that the actual mixing with snow should happen right before serving.
How do I explain the science of snow cream to kids?
Snow cream is a wonderful kitchen science lesson! Explain how the tiny ice crystals in snow give it a unique texture, how adding sugar lowers the freezing point (which is why it helps prevent immediate melting), and how the fat in milk creates a creamy mouthfeel by coating the ice crystals.
Snow Cream

A delightful and simple winter treat made from just three ingredients: clean snow, milk, and sugar. Perfect for snowy days and customizable with various flavors.
Main Ingredients
- 8 cups clean, fresh snow (Gather from a pristine area; avoid roads or animal traffic.)
- 1/2 cup granulated sugar (Reduce to 1/3 cup for a less sweet version.)
- 1 cup milk (Whole milk gives the richest result, but any milk works.)
Optional Flavor Enhancers
- 1 teaspoon vanilla extract (Adds a classic flavor.)
- 2 tablespoons cocoa powder (For a chocolate version.)
- 1/4 teaspoon almond extract (For a sophisticated twist.)
- 2 tablespoons maple syrup (Can replace some or all of the sugar.)
Preparation
- Step 1: Gather approximately 8 cups of clean, fresh snow from an untouched area.
- Step 2: In a large bowl, whisk together the milk and sugar until mostly dissolved. Optionally, warm the milk slightly to help the sugar blend smoothly.
- Step 3: Fold the collected snow into the milk mixture quickly, adjusting with more snow or milk until the desired soft-serve texture is achieved.
- Serve immediately in pre-chilled bowls.
Snow cream is best enjoyed fresh and doesn’t store well. Consider preparing small batches with different flavors. Avoid collecting snow from polluted areas and work quickly to prevent melting.