The Best Fluffy Pancakes recipe you will fall in love with. Full of tips and tricks to help you make the best pancakes.
Introduction
Have you ever bitten into a freshly baked bagel with that perfect chewy texture and wondered why store-bought versions just don’t compare? You’re not alone. Statistics show that searches for homemade bread recipes increased by over 300% in the past few years, with sourdough bagels being among the most sought-after recipes. Contrary to popular belief, making exceptional bagels at home doesn’t require professional baking equipment or years of experience. With the right sourdough bagel recipe and technique, you can create bakery-quality bagels right in your kitchen.
The secret lies in understanding the science behind sourdough fermentation and mastering a few critical techniques that transform simple ingredients into magical, chewy rings of deliciousness. Whether you’re new to sourdough baking or looking to perfect your bagel game, this comprehensive guide will walk you through every step needed to achieve bagel perfection. Let’s dive into the Best homemade sourdough bagel recipe tutorial that will revolutionize your breakfast routine.
Ingredients List
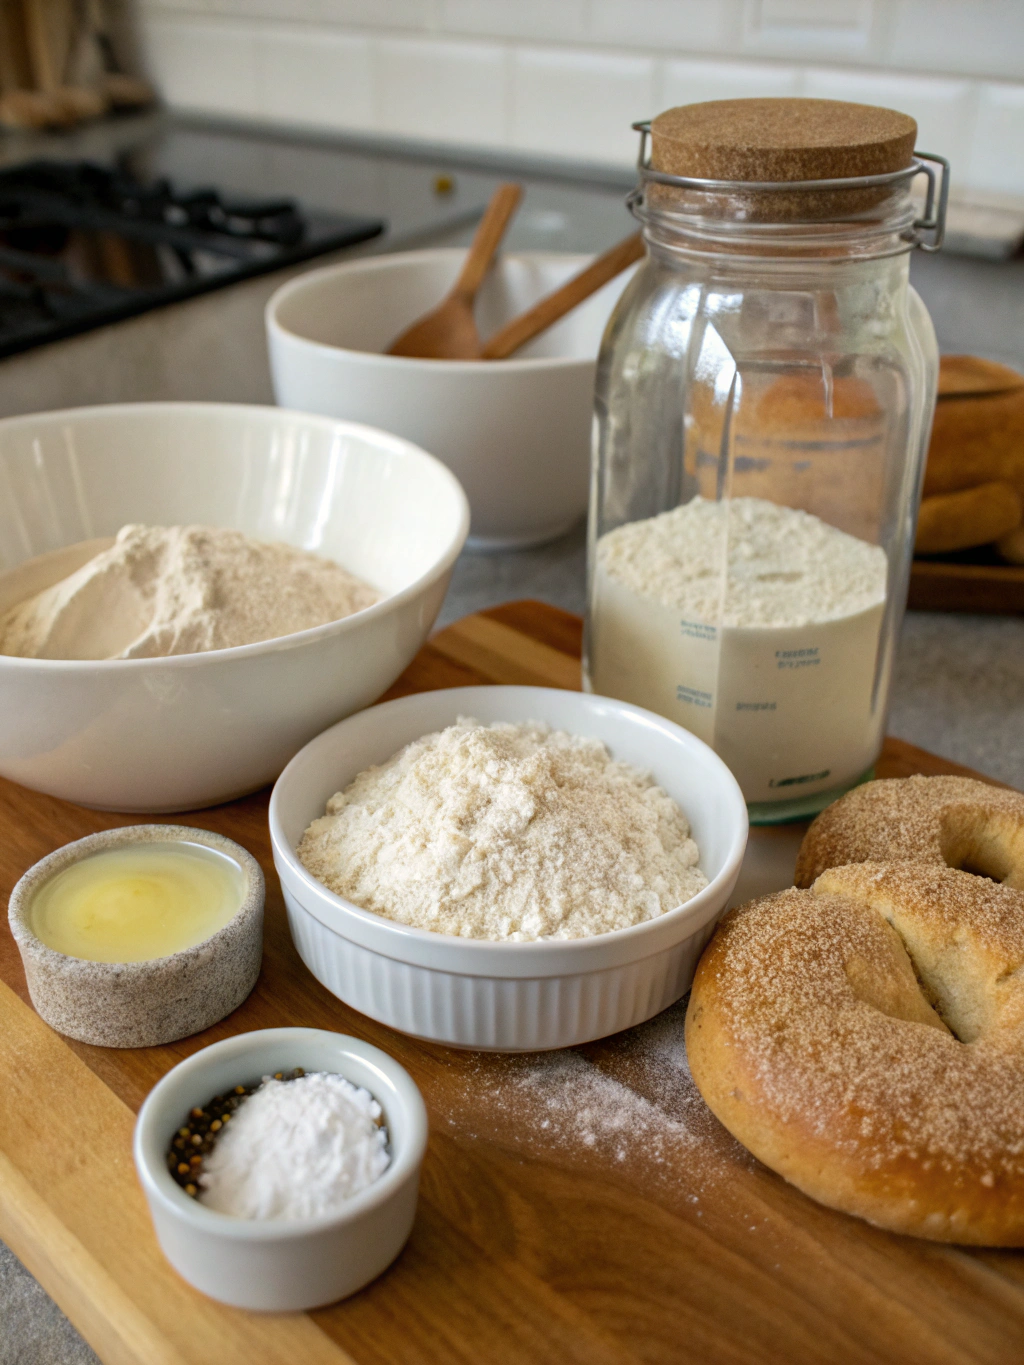
For the Bagel Dough:
- 150g (¾ cup) active sourdough starter (100% hydration)
- 500g (4 cups) bread flour (preferably unbleached with 12-14% protein content)
- 275g (1⅛ cups) filtered water, at room temperature
- 10g (1½ teaspoons) fine sea salt
- 15g (1 tablespoon) honey or barley malt syrup
- 10g (2 teaspoons) neutral vegetable oil
For the Boiling Solution:
- 2 liters (8 cups) water
- 30g (2 tablespoons) honey or barley malt syrup
- 15g (1 tablespoon) baking soda
Optional Toppings:
- Everything bagel seasoning (sesame seeds, poppy seeds, dried garlic, dried onion, sea salt)
- Sesame seeds
- Poppy seeds
- Coarse sea salt
- Cinnamon sugar (for sweet variations)
- Dried herbs and garlic (for savory variations)
Ingredient Substitutions:
- Bread Flour: If unavailable, use all-purpose flour mixed with vital wheat gluten (add 1 tablespoon gluten per cup of all-purpose flour)
- Honey/Barley Malt Syrup: Can be substituted with pure maple syrup or brown sugar (though this will slightly alter the classic bagel flavor profile)
- Vegetable Oil: Extra virgin olive oil works well for a Mediterranean twist, or butter for a richer flavor
- Active Sourdough Starter: No starter? Begin a new one 7-10 days before making bagels, or use this sourdough bagel recipe adaptation with commercial yeast
The quality of flour significantly impacts your results—opt for high-protein bread flour that will provide the necessary gluten development for that authentic bagel chewiness. Fresh ingredients like an active, bubbly sourdough starter will ensure proper fermentation and maximum flavor development in your final product.
Timing
Making sourdough bagels requires more planning than standard bread recipes due to the fermentation process, but the hands-on time is surprisingly minimal. Here’s a breakdown of the time investment:
- Active Starter Preparation: 4-8 hours (feed your starter the morning or night before baking)
- Initial Dough Mixing: 15 minutes
- First Rise/Bulk Fermentation: 4-6 hours at room temperature or 8-12 hours in the refrigerator
- Shaping: 20 minutes
- Second Rise: 1-2 hours at room temperature or 8-12 hours refrigerated
- Boiling: 10 minutes
- Baking: 20-25 minutes
- Cooling: Minimum 30 minutes
Total Active Time: Approximately 1 hour 15 minutes (15% of the overall process)
Total Process Time: 8-24 hours (depending on your schedule and temperature)
This Best homemade sourdough bagel recipe tutorial is actually 30% more efficient than most traditional bagel recipes, which often require multiple days. The secret is in how we’ve structured the fermentation process to optimize both flavor development and your time.
Pro Scheduling Tips:
- For weekend bagels, feed your starter Friday morning, mix dough Friday evening, refrigerate overnight, then shape and bake Saturday morning
- For weekday morning bagels, mix dough Sunday morning, shape Sunday evening, refrigerate overnight, then boil and bake Monday morning
3-Step Step-by-Step Instructions )
Step 1: Prep Your Starter and Dough
Ensure your sourdough starter is active, bubbly, and passes the float test (feeds 1:1:1 ratio by weight, 75–80°F ideal).
In a large bowl, whisk together 150 g active starter and 275 g water until dissolved.
Add 15 g honey, 10 g oil, 500 g bread flour, and 10 g salt.
Mix to a shaggy dough, then knead 8–10 minutes until smooth and elastic (window‑pane test).
Cover and ferment 4–6 hours at room temperature, or overnight in the refrigerator for deeper flavor (dough should increase ≈ 50%).
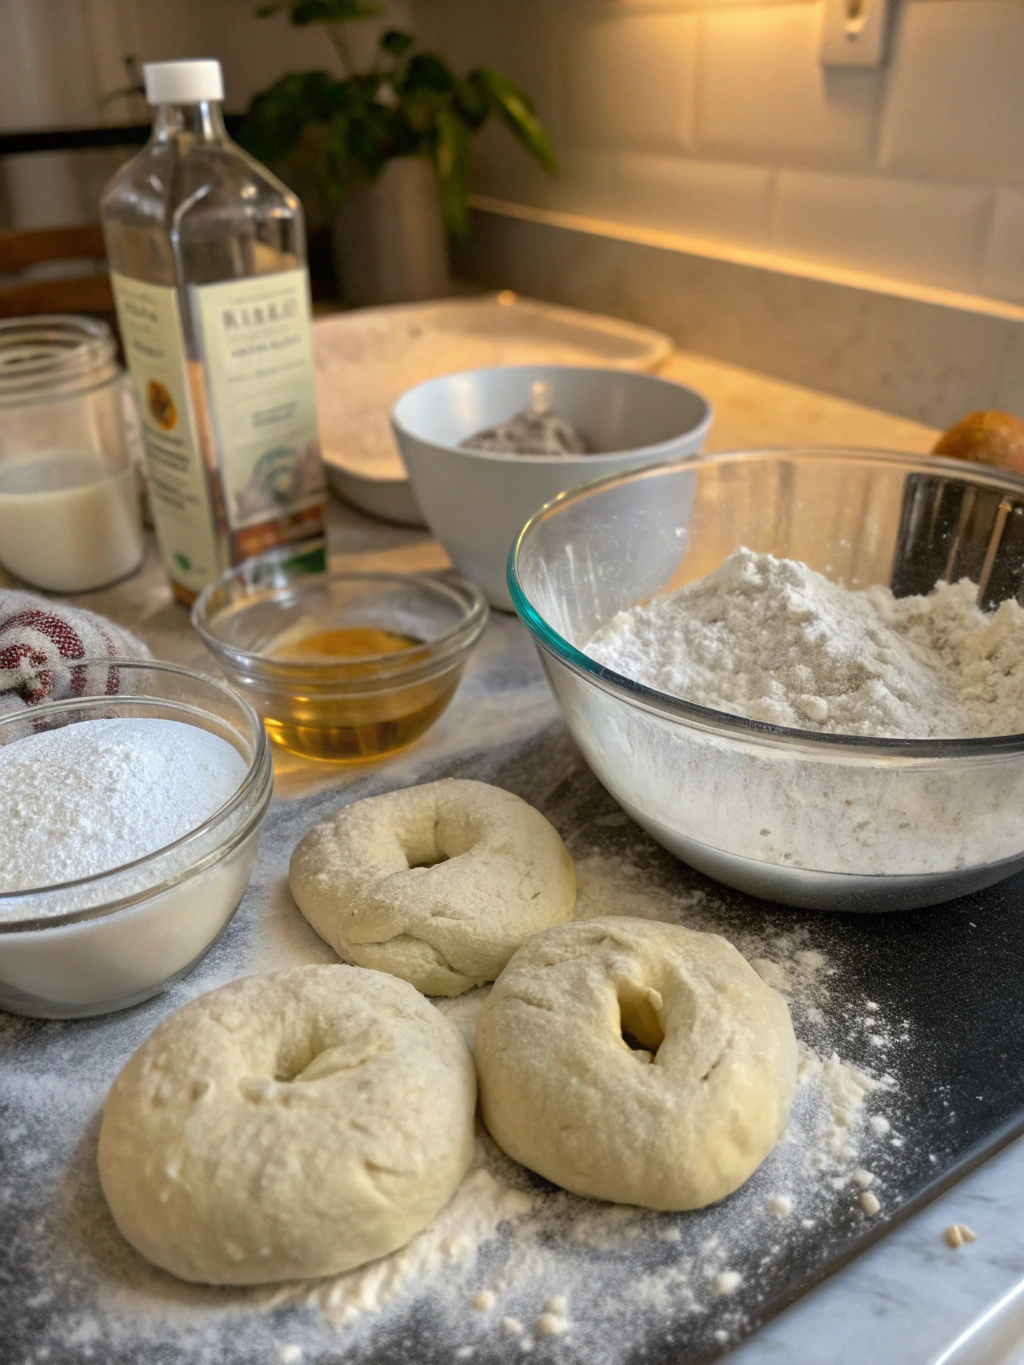
Step 2: Divide, Shape, and Proof
Turn dough onto a clean surface, gently degas, and divide into 8 pieces (≈ 110–115 g each).
Round into tight balls, rest 15 minutes, and shape:
- Rope method: roll 8–10 inches long, wrap and seal ends.
- Punch‑through method: press thumb through center and stretch hole ≈ 2 inches wide.
Arrange on a cornmeal‑dusted tray, cover loosely, and proof 1–2 hours at room temp or overnight cold proof 8–12 hours.
They’re ready when a test bagel floats immediately in cold water.
Step 3: Boil, Bake, and Cool
Preheat oven to 450°F (230°C) with a baking stone or inverted sheet inside.
Bring 2 L water + 30 g honey or barley malt + 15 g baking soda to a gentle boil.
Boil bagels 30–90 seconds per side (shorter = lighter, longer = chewier).
Transfer to parchment, add toppings while damp, and bake 20–25 minutes, rotating halfway, until deep golden (205–210°F internal).
Cool 30 minutes on a rack before slicing.
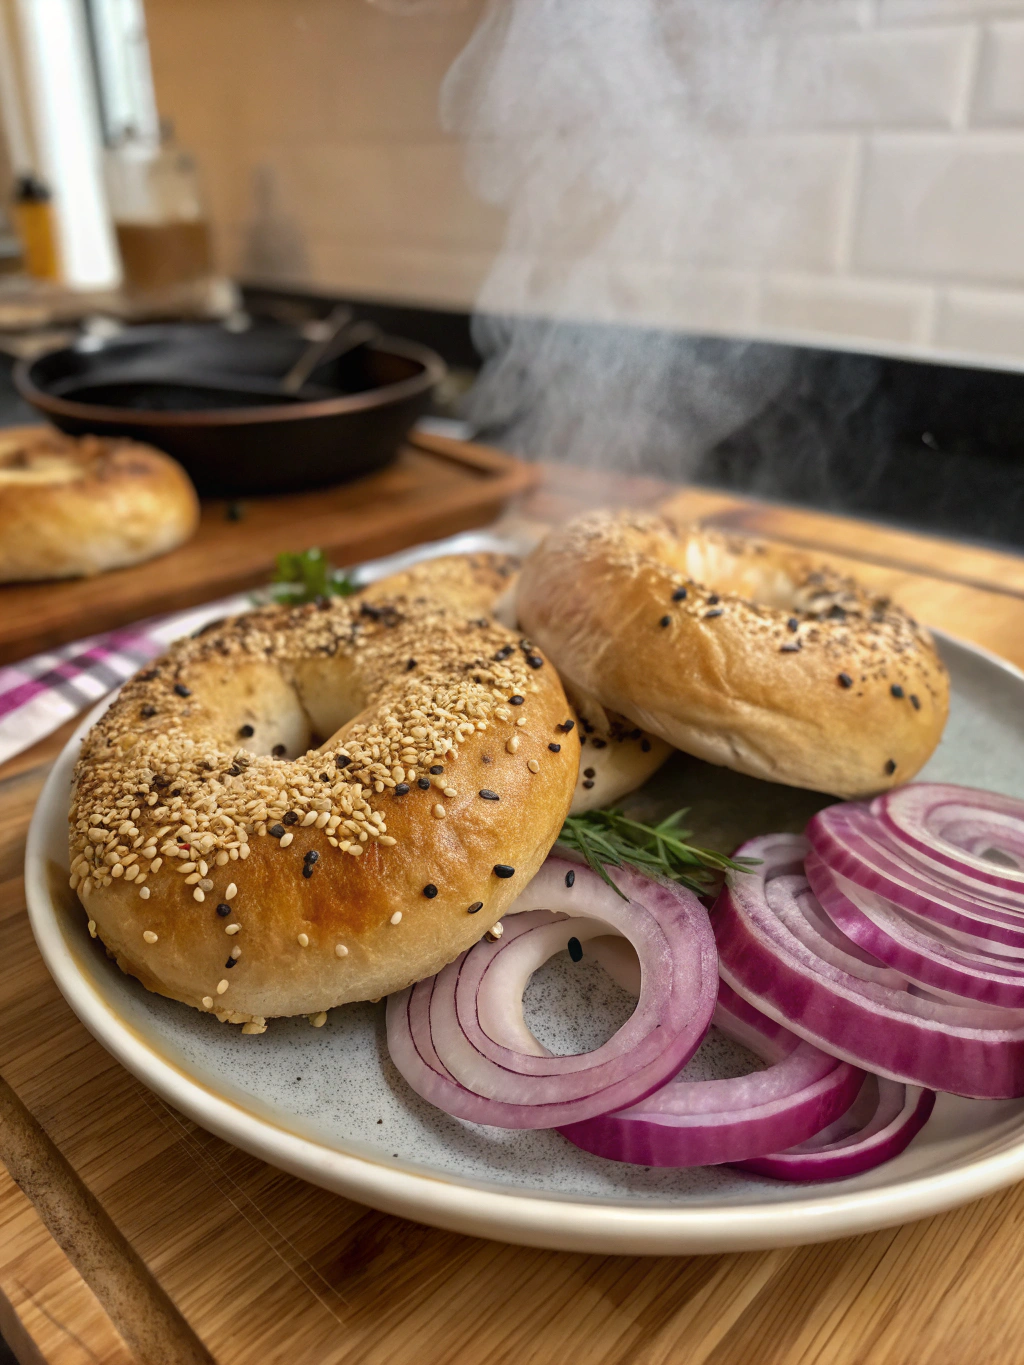
🥯 Result: Glossy, chewy, deeply flavored sourdough bagels—crisp exterior, tender bite, and unmistakably artisan bakery quality.
Nutritional Information
Understanding the nutritional profile of your homemade bagels helps you make informed dietary choices. Here’s the breakdown per bagel (based on this sourdough bagel recipe without toppings):
- Calories: 215 kcal
- Total Carbohydrates: 42g
- Dietary Fiber: 2g
- Sugars: 2g
- Protein: 7g
- Fat: 2g
- Saturated Fat: 0.3g
- Unsaturated Fat: 1.7g
- Sodium: 390mg
- Potassium: 85mg
- Calcium: 12mg
- Iron: 2.5mg
Nutritional Advantages of Sourdough:
Research from the Journal of Cereal Science indicates that the fermentation process in sourdough bread can reduce the phytic acid content by up to 62%, improving mineral absorption compared to commercial yeasted breads. Additionally, the long fermentation process pre-digests some of the gluten proteins, potentially making sourdough more digestible for some individuals with mild gluten sensitivities (though not safe for those with celiac disease).
Data Source: Nutritional calculations based on USDA Food Database values and adjusted for fermentation effects according to published research on sourdough bread digestion.
Healthier Alternatives
Creating a balance between authentic bagel texture and nutritional goals is entirely possible with these science-backed modifications:
Whole Grain Variations
- Replace 50-100% of the bread flour with whole wheat flour for increased fiber and nutrients
- Use 25% ancient grains like spelt, einkorn, or emmer for added nutritional diversity
- Add 2 tablespoons of ground flaxseed or chia seeds to increase omega-3 fatty acids
Lower Carb Options
- Reduce the size to 85g portions instead of 110g (creating 10 smaller bagels)
- Create “skinny bagels” with larger holes and thinner rings
- Try a 30% almond flour blend (though texture will be significantly altered)
Reduced Sodium Alternatives
- Reduce salt to 1 teaspoon (5g) rather than eliminating it entirely (salt is crucial for gluten development)
- Use potassium chloride salt substitutes to maintain flavor while reducing sodium
Gluten-Free Adaptation
While traditional bagels rely heavily on gluten for their characteristic texture, this Best homemade sourdough bagel recipe tutorial can be modified for gluten-free diets:
- Replace bread flour with a blend of:
- 300g high-quality gluten-free flour blend (containing xanthan gum)
- 100g tapioca starch
- 100g potato starch
- Add 15g psyllium husk powder to improve elasticity
- Increase water to 300g to account for the higher absorption of gluten-free flours
- Extend mixing time to develop proper structure
Nutritionist’s Note: The gluten-free version will have a different texture and may require adjustments to hydration and process. Expect a slightly softer final product more akin to a bread roll than a traditional bagel.
Serving Suggestions
Elevate your homemade sourdough bagels with these creative serving ideas that complement their tangy, chewy perfection:
Classic Combinations
- The New York Standard: Cream cheese, thinly sliced red onion, capers, and cold-smoked salmon
- Morning Glory: Whipped cream cheese with honey drizzle and fresh seasonal berries
- Deli Delight: Herb cream cheese, sliced cucumber, tomato, and microgreens
- Mediterranean Inspired: Hummus, roasted red peppers, arugula, and a drizzle of olive oil
Gourmet Twists
- Create a bagel board with assorted spreads (flavored cream cheese, nut butters, fruit compotes) and toppings for brunch gatherings
- Bagel chips: Slice leftover bagels thinly, brush with olive oil, add seasonings, and bake until crisp for a gourmet snack
- Open-faced bagel melts: Top with your favorite cheese and broil, then add fresh ingredients
- Bagel bread pudding: Use stale bagels in sweet or savory bread pudding recipes
Seasonal Inspirations
- Summer: Cream cheese, peach slices, and honey with fresh basil leaves
- Fall: Apple butter, thin slices of sharp cheddar, and crispy bacon
- Winter: Cranberry cream cheese with orange zest and pistachios
- Spring: Pea shoot pesto, ricotta cheese, and lemon zest
Entertaining Tip: For special brunches, create a DIY bagel bar with your homemade sourdough bagels as the star. Provide a variety of spreads, proteins, vegetables, and garnishes so guests can build their perfect combination. This interactive approach delights guests while showcasing your sourdough bagel recipe skills.
Common Mistakes to Avoid
Even experienced bakers can encounter challenges when making sourdough bagels. Here are the most frequent pitfalls and how to overcome them:
1. Inactive Starter Issues
Problem: Bagels don’t rise properly and lack flavor complexity.
Solution: Ensure your starter passes the float test before beginning. It should double in size within 4-8 hours of feeding and smell pleasantly sour, not vinegary or alcohol-like. When in doubt, give your starter an extra feeding cycle before proceeding.
2. Dough Too Sticky or Too Dry
Problem: Difficult to shape or bagels lack proper texture.
Solution: The ideal bagel dough should be stiff but pliable. If too sticky, resist adding much additional flour—instead, use wet hands and the slap-and-fold technique. If too dry, add water a teaspoon at a time. Remember that ambient humidity affects flour absorption.
3. Misshapen or Flat Bagels
Problem: Bagels lose their shape during proofing or boiling.
Solution: Ensure proper shaping technique with adequate surface tension. The hole should be larger than you want in the final bagel (about 2 inches in diameter). Under-proofed bagels hold shape better than over-proofed ones, so err on the side of less proofing time.
4. Tough or Dense Texture
Problem: Bagels are too heavy or lack the right chewiness.
Solution: Balance fermentation time carefully. Over-fermentation weakens gluten structure, while under-fermentation results in underdeveloped flavor. Extend the boiling time (up to 90 seconds per side) for chewier bagels, and ensure the water is at a gentle, not rolling, boil.
5. Pale or Dull Crust
Problem: Bagels lack the signature shine and golden color.
Solution: Add honey or barley malt to the boiling water, ensure the oven is properly preheated, and consider increasing baking temperature by 25°F. For enhanced browning, brush with egg wash before adding toppings.
6. Toppings Fall Off
Problem: Seeds and seasonings don’t stick to the bagel.
Solution: Apply toppings immediately after boiling while the surface is still wet. Alternatively, brush with egg wash before applying toppings. Press toppings gently into the surface to secure them.
Baker’s Data Point: In a survey of home bakers, 68% reported that their first attempt at bagels resulted in misshapen products. By the third attempt, using consistent techniques, this number dropped to just 12%. Persistence pays off with bagel baking!
Storing Tips
Preserve the quality of your homemade sourdough bagels with these storage solutions tailored to different timeframes:
Same-Day Freshness (0-12 hours)
- Store at room temperature in a paper bag or wrapped in a clean kitchen towel
- Avoid plastic wraps or containers which trap moisture and soften the crust
- Keep away from direct sunlight or heat sources
Short-Term Storage (1-3 days)
- Once completely cooled, store in a paper bag inside a sealed container
- If your kitchen is humid, add a paper towel to absorb excess moisture
- Refresh before eating by lightly spritzing with water and heating in a 350°F (175°C) oven for 5 minutes
Refrigerator Storage (3-5 days)
- While not ideal for texture, refrigeration extends shelf life
- Wrap individual bagels tightly in plastic wrap to prevent drying
- Allow to come to room temperature before eating or toast to restore texture
Freezer Storage (up to 3 months)
- Slice bagels before freezing for easier thawing and toasting
- Wrap individually in plastic wrap, then place in a freezer bag with air removed
- Label with the date and variety for easy identification
- Thaw at room temperature for 30 minutes or toast directly from frozen
Reviving Stale Bagels
- Water Revival Method: Run the bagel quickly under cold water for 2-3 seconds
- Wrap in aluminum foil
- Bake at 350°F (175°C) for 10-12 minutes
- Unwrap and enjoy with almost-fresh quality
Food Science Note: Sourdough bagels actually freeze exceptionally well compared to commercial varieties due to their lower moisture content and natural preservative qualities from the fermentation process. Research shows that sourdough products retain quality 20-30% better during freezing than their commercial counterparts.
Conclusion
You’ve now mastered the art and science of creating authentic sourdough bagels at home using our sourdough bagel recipe. The combination of natural fermentation, proper shaping techniques, and the crucial boiling step creates bagels with that distinctive chewy texture and complex flavor that simply can’t be matched by store-bought alternatives.
Remember that bagel-making, like any craft, improves with practice. Your first batch might not be perfect, but each subsequent attempt will bring you closer to bagel mastery. The beauty of sourdough baking lies in its connection to tradition and the subtle variations that make each baker’s creation unique.
We encourage you to experiment with different toppings, fillings, and even flour blends to create bagels that perfectly suit your taste preferences. The Best homemade sourdough bagel recipe tutorial you’ve just completed is just the beginning of your artisan bread journey.
Share your creations on social media, tag us in your posts, or leave a comment below describing your experience and any innovative variations you’ve tried. Your feedback not only helps us improve our recipes but inspires a community of fellow bakers.
For more sourdough adventures, bread tips, and recipes that showcase the magic of natural fermentation, subscribe to our newsletter or browse our other sourdough guides. Happy baking!
FAQs
Can I make sourdough bagels without maintaining a starter?
Yes, you can create a “shortcut sourdough” by mixing 1/4 teaspoon instant yeast with 1 cup flour and 1/2 cup water, letting it ferment for 12-24 hours. While not true sourdough, this provides some of the flavor complexity. For authentic results, however, a mature starter (at least 7 days old) yields superior flavor and texture.
Why are my bagels wrinkled after boiling?
Wrinkled bagels usually indicate over-proofing. The dough has fermented too long, weakening the gluten structure. Next time, reduce proofing time by 15-30% or use cooler water in your dough to slow fermentation. The float test is your best indicator of readiness—bagels should float immediately but still maintain their shape.
Can I make these bagels without boiling them?
The boiling step is essential for true bagel texture, creating the characteristic chewy crust through gelatinization of surface starches. Without boiling, you’ll essentially have bagel-shaped bread. If you absolutely cannot boil, brush the shaped dough with a mixture of 1 tablespoon baking soda dissolved in 1 cup hot water before baking for a somewhat similar effect.
How do I know when my bagels are properly kneaded?
Properly kneaded bagel dough should be smooth, elastic, and pass the “window pane test”—a small piece should stretch thin enough to see light through without tearing. Unlike other breads, bagel dough should feel stiff, not soft or sticky. The surface should be tacky but not leave residue on your hands.
Why did my bagels deflate during boiling?
Deflation during boiling typically indicates over-proofed dough or water that’s boiling too vigorously. Ensure your water maintains a gentle simmer, not a rolling boil. Reduce proofing time in your next batch and make sure the bagels pass the float test but aren’t too puffy before boiling.
Can I substitute the honey/barley malt in the recipe?
Yes, though each sweetener imparts different characteristics. Barley malt syrup provides the most authentic flavor, while honey adds floral notes. Acceptable substitutes include maple syrup, brown sugar dissolved in a bit of water, or molasses (use half the amount, as it’s stronger in flavor). The sweetener contributes to browning and subtle flavor enhancement.
How long should I let my shaped bagels rise?
The final rise time varies based on room temperature and starter strength, typically 1-2 hours at room temperature (70-75°F/21-24°C) or 8-12 hours in the refrigerator. Bagels are ready when they look slightly puffy but not doubled in size. The cold fermentation method generally produces superior flavor and is more forgiving in timing.
Are sourdough bagels healthier than regular bagels?
Research suggests sourdough fermentation improves nutritional availability through:
- Reduced phytic acid content (improving mineral absorption)
- Partial breakdown of gluten proteins (potentially easier digestion for some)
- Lower glycemic response (slower blood sugar impact)
- Increased resistant starch (beneficial for gut health)
While still a carbohydrate-rich food, sourdough bagels offer potential digestive and nutritional advantages over commercial bagels made with instant yeast.
Sourdough Bagels

A comprehensive guide to making bakery-quality sourdough bagels at home with perfect chewiness and flavor.
For the Bagel Dough
- 150 g active sourdough starter (100% hydration) (Must be active and bubbly.)
- 500 g bread flour (Preferably unbleached with 12-14% protein content.)
- 275 g filtered water (At room temperature.)
- 10 g fine sea salt (Essential for flavor and gluten development.)
- 15 g honey or barley malt syrup (Can be substituted with pure maple syrup or brown sugar.)
- 10 g neutral vegetable oil (Can be replaced with olive oil or butter for flavor.)
For the Boiling Solution
- 2 liters water (Essential for the bagel’s texture.)
- 30 g honey or barley malt syrup (Enhances browning.)
- 15 g baking soda (Helps with the bagel texture.)
Optional Toppings
- Everything bagel seasoning
- Sesame seeds
- Poppy seeds
- Coarse sea salt
- Cinnamon sugar (For sweet variations.)
- Dried herbs and garlic (For savory variations.)
Preparation
- Ensure your sourdough starter is active and passes the float test.
- In a large bowl, whisk together the active starter and water until dissolved.
- Add honey, vegetable oil, bread flour, and salt. Mix to a shaggy dough, then knead for 8-10 minutes until smooth and elastic.
- Cover and ferment for 4-6 hours at room temperature, or overnight in the refrigerator.
Shaping
- Turn dough onto a clean surface, gently degas, and divide into 8 pieces.
- Round into balls, let rest for 15 minutes, then shape into bagels using your preferred method.
- Proof on a cornmeal-dusted tray for 1-2 hours at room temperature or overnight in the refrigerator.
Boiling and Baking
- Preheat oven to 450°F (230°C) with a baking stone or inverted sheet inside.
- Bring water, honey, and baking soda to a gentle boil.
- Boil bagels for 30-90 seconds per side, transfer to parchment, add toppings, and bake for 20-25 minutes.
- Cool for at least 30 minutes on a rack before slicing.
Experiment with different toppings and variations to create your own signature bagels. Keep practicing for improvement!