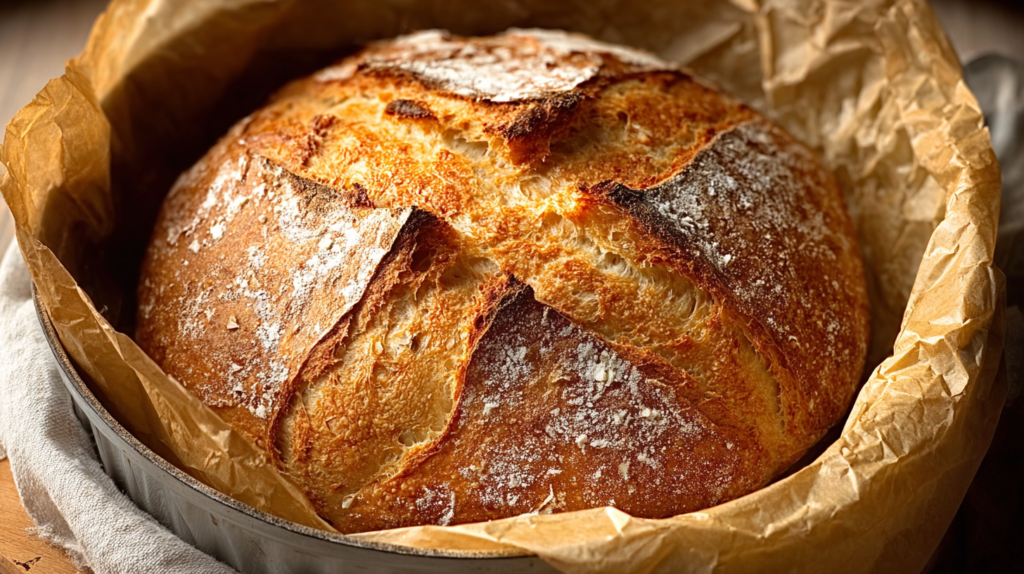
This Dutch oven bread recipe is one of the easiest ways to make bakery-style bread at home. It has a crispy crust, soft inside, and you don’t need any special tools or kneading. If you’re new to bread baking, this is the perfect recipe to start with.
Why Make This Recipe
This recipe is simple, affordable, and almost hands-off. The dough rises on its own, and the Dutch oven helps create that beautiful crust you usually only get from artisan bakeries. It’s great for beginners and works with basic pantry ingredients.
How To Make Dutch Oven Bread
Ingredients:
- 3 cups all-purpose flour
- 1¼ teaspoons salt
- ¼ teaspoon active dry yeast
- 1½ cups warm water
Optional: extra flour for dusting
Directions:
- Mix the dough: In a large bowl, mix flour, salt, and yeast. Pour in warm water and stir until a rough dough forms. Cover the bowl and let it rest at room temperature for 12–18 hours.
- Shape and rest: Place the dough onto a floured surface. Fold it over itself once or twice, then shape into a loose ball. Place on parchment paper, cover, and let rise 1–2 hours.
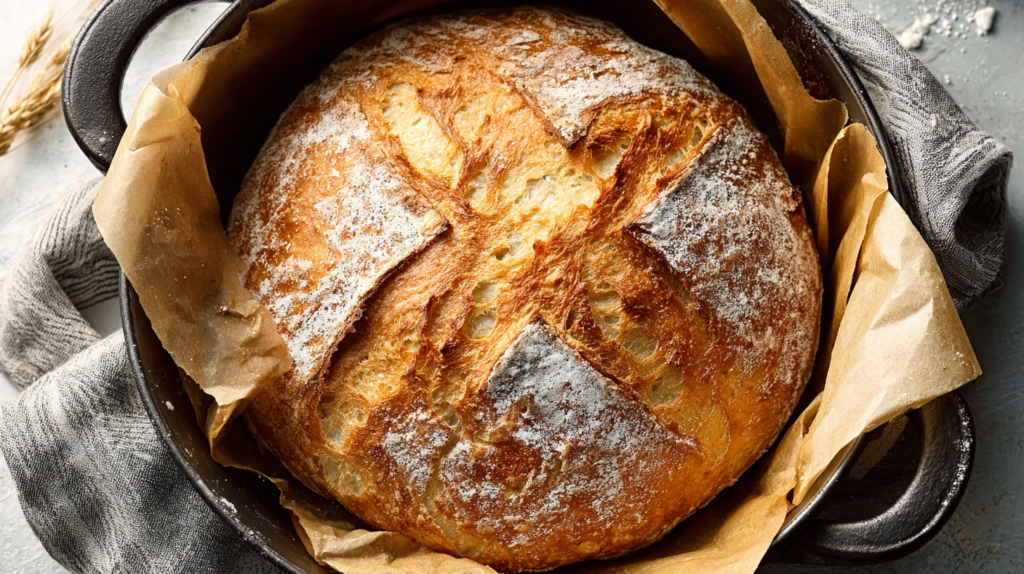
- Bake: Preheat the oven to 450°F (232°C) with the Dutch oven inside for 30 minutes. Carefully lift the dough (with parchment) into the hot pot. Cover and bake 30 minutes, then uncover and bake 15 minutes until deep golden brown.
Prep Time And Nutrition Facts
This bread takes about 10 minutes to prepare (hands-on) and 45 minutes to bake, but it needs 12–18 hours of resting time for the dough to rise. It makes one loaf (about 10–12 slices) and each slice has around 120 calories.
How To Serve Dutch Oven Bread
Serve it warm with butter, olive oil, or honey. It’s also perfect for sandwiches, toast, or alongside soups, stews, and pasta.
How To Store Dutch Oven Bread
Let the bread cool completely, then store it in a bread bag or wrapped in a clean towel at room temperature for 2–3 days. For longer storage, slice and freeze for up to 3 months.
Tips To Make Dutch Oven Bread
- Don’t rush the resting time — the long rise builds the best texture.
- Always preheat the Dutch oven so the crust forms properly.
- Let the loaf cool before slicing so it doesn’t become gummy.
- If the dough feels sticky, dust your hands with flour instead of adding extra flour into the dough.
Health And Benefits Of This Recipe
Homemade bread is a simple, filling option with basic ingredients and no preservatives. You can also use part whole-wheat flour if you want more fiber.
Variation (If Any)
- Use bread flour for a chewier texture
- Replace 1 cup of flour with whole wheat flour for a heartier loaf
- Add garlic powder, herbs, or shredded cheese for a savory version
FAQs
- Do I need a Dutch oven to make this bread? A Dutch oven is best for crust, but you can use an oven-safe pot with a lid.
- Can I use instant yeast instead of active dry yeast? Yes, use the same amount.
- Why does the dough need to rest so long? The long rise builds flavor and structure without kneading.
- How do I know when the bread is done? It should be deep golden brown and sound hollow when tapped.
- Can I make this bread gluten-free? You can, but it needs a specific gluten-free bread recipe to work well.
- Why is my bread dense? Usually from not resting long enough or using too much flour.
- Can I freeze the bread? Yes — slice first and freeze for easy toasting.

Dutch Oven Bread
Ingredients
Method
- In a large bowl, mix flour, salt, and yeast.
- Pour in warm water and stir until a rough dough forms.
- Cover the bowl and let it rest at room temperature for 12–18 hours.
- Place the dough onto a floured surface.
- Fold it over itself once or twice, then shape into a loose ball.
- Place on parchment paper, cover, and let rise for 1–2 hours.
- Preheat the oven to 450°F (232°C) with the Dutch oven inside for 30 minutes.
- Carefully lift the dough (with parchment) into the hot pot.
- Cover and bake for 30 minutes, then uncover and bake for an additional 15 minutes until deep golden brown.