This chili seasoning recipe is a quick homemade blend you can mix in minutes using pantry spices. It gives chili a bold, balanced flavor (warm, savory, and just the right amount of heat) without needing store-bought packets.

Why Make This Recipe
Making your own chili seasoning is cheaper, fresher, and easy to customize. You control the salt and spice level, and you’ll always have a go-to mix ready for chili, taco meat, roasted veggies, or soups.
How To Make Chili Seasoning
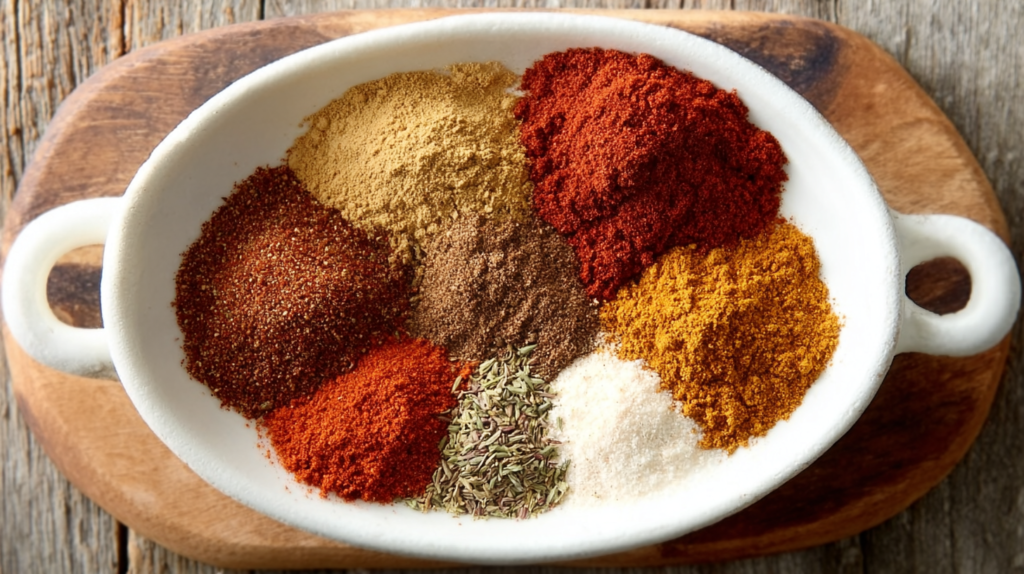
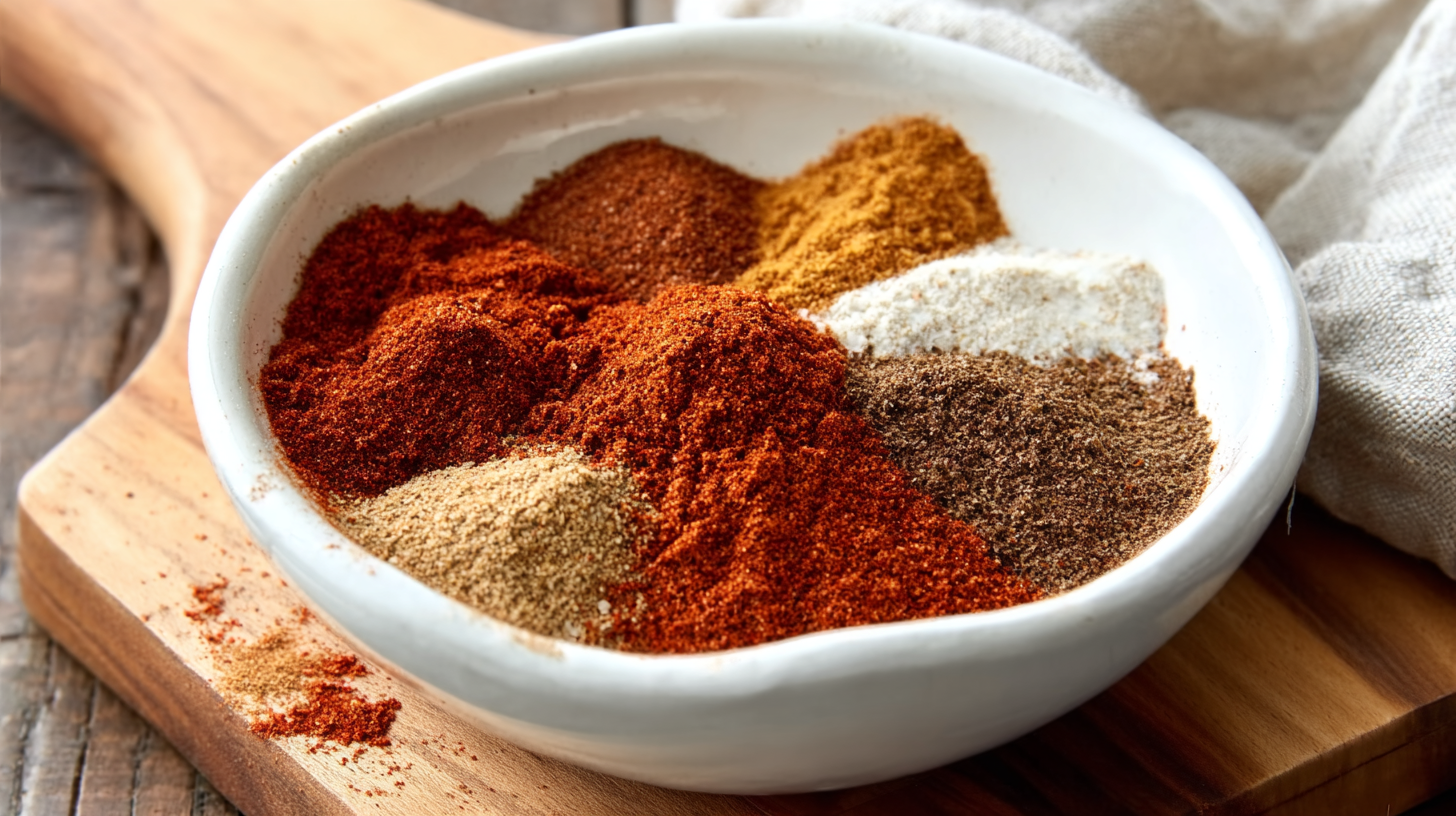
Ingredients:
- 2 tablespoons chili powder
- 1 tablespoon ground cumin
- 2 teaspoons garlic powder
- 1 teaspoon onion powder
- 1 teaspoon dried oregano
- 1 teaspoon paprika
- 1 teaspoon cayenne pepper (adjust to taste)
- 1 teaspoon salt
- ½ teaspoon black pepper
- ½ teaspoon brown sugar (optional)
Directions:
- Measure the spices: Add all spices to a small bowl or jar.
- Mix well: Stir or shake until everything is evenly combined and no clumps remain.
- Store: Transfer to an airtight jar, label it, and keep it in a cool, dry cabinet.
Prep Time And Nutrition Facts
This seasoning takes about 5 minutes to make and yields about ¼ cup (enough for one large pot of chili). A 1-tablespoon serving has roughly 15–20 calories, depending on the exact spices used.
How To Serve Chili Seasoning
Use this blend to season:
- Chili (classic beef or turkey)
- Taco meat or fajita chicken
- Roasted potatoes or sweet potatoes
- Soups and stews
- Beans and lentils
How much to use: Start with 2 tablespoons per 1 pound of meat, then adjust to taste.
How To Store Chili Seasoning
Store in a sealed jar in a cool, dark place for up to 6 months (best flavor in the first 3 months).
Tips To Make Chili Seasoning
- For mild seasoning, use ½ teaspoon cayenne or skip it.
- For smoky flavor, use smoked paprika instead of regular paprika.
- If your spices are old and don’t smell strong, the blend will taste weaker—fresh spices matter.
Health And Benefits Of This Recipe
Homemade seasoning avoids fillers and lets you control sodium. Spices like chili powder, cumin, and oregano add flavor without extra fat, and they’re naturally rich in antioxidants.
Variation (If Any)
- Mild: 0–½ tsp cayenne
- Hot: 2 tsp cayenne or add chipotle powder
- No sugar: skip the brown sugar
- Low-sodium: cut salt in half and season your chili separately
FAQs
- How much seasoning do I use for chili? Start with 2 tablespoons per 1 pound of meat, then adjust.
- Can I make a big batch? Yes—double or triple it and store in an airtight jar.
- Is this seasoning spicy? It can be mild or hot depending on how much cayenne you use.
- Can I use this as taco seasoning? Yes—add a little extra garlic powder or a pinch of dried cilantro if you want.
- How long does homemade chili seasoning last? Up to 6 months, but it tastes best within 3 months.
- Can I skip cumin? You can, but cumin gives chili its classic “chili” flavor.
- Is this seasoning gluten-free? Yes, as long as your spices are pure (check labels if you’re sensitive).
Chili Seasoning
Ingredients
Method
- Measure the spices: Add all spices to a small bowl or jar.
- Mix well: Stir or shake until everything is evenly combined and no clumps remain.
- Store: Transfer to an airtight jar, label it, and keep it in a cool, dry cabinet.