Ingredients
Method
Making the Custard
- Heat the heavy cream, whole milk, half the sugar, vanilla, and salt in a pot until steaming.
- In a separate bowl, whisk together the egg yolks with the remaining sugar.
- Slowly whisk in some of the hot liquid to the egg yolk mixture to temper it.
- Pour the egg mixture back into the pot and cook on low, stirring, until it lightly thickens and coats the back of a spoon.
Chill and Freeze
- Strain the custard mixture to remove any lumps and allow it to cool.
- Refrigerate the custard until fully cold, then pour it into a Ninja Creami pint, leaving space at the top.
- Freeze for 24 hours.
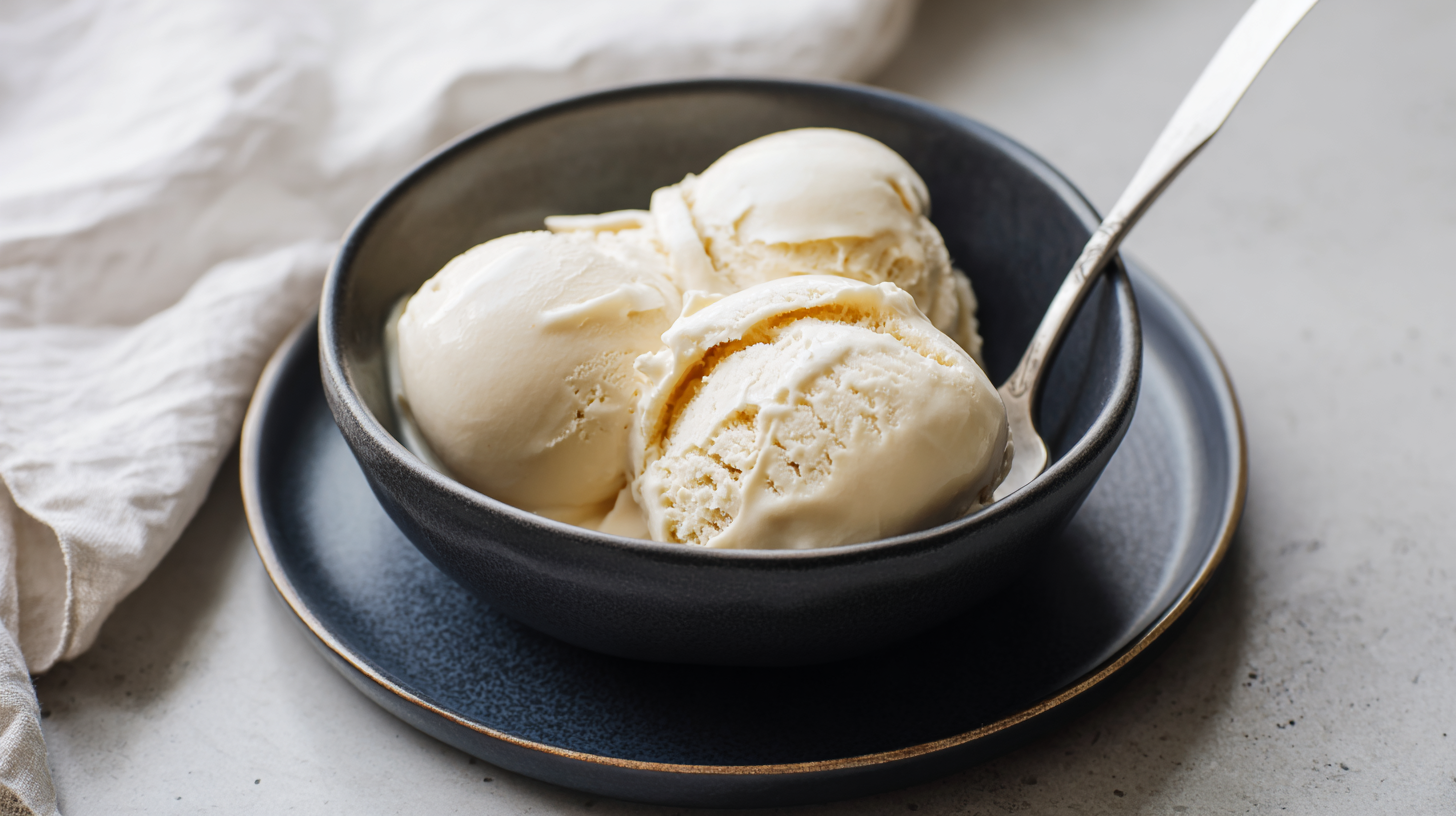
Creamify
- Run the Ice Cream mode on the Ninja Creami.
- If the ice cream looks crumbly, press the Re-Spin button once or twice until smooth.
Notes
For best texture, keep the ice cream in the pint container in the freezer for up to 1 week. Let it sit for 5–10 minutes before scooping if it gets too hard.